 CaixaUnica
From phone to CaixaUnica: send statements to Google Drive on Android
The phone is where most people check their bank today — and from there you can get your statement into CaixaUnica in a few taps, with no computer and no cable. The shortcut is Google Drive: you export the file in your bank app, save it to Drive, and from there import into CaixaUnica wherever you are. As a bonus, you end up with a tidy archive of all your statements in the cloud.
Why go through Google Drive
- Works on any screen. The file in Drive opens on phone and PC — import from wherever's most comfortable.
- It becomes your archive. One folder per account (or per year) and you never lose a statement again.
- It's safe to re-import. CaixaUnica fingerprints each transaction uniquely, so uploading the same file again never creates duplicates — keep your whole history in Drive without worry.
Step 1 — Export the statement in your bank app
In your bank or brokerage app, look for the option to export or share the statement (names vary: "Export", "Share receipt", "Download statement").
The most important thing is the format. CaixaUnica reads data files, not images:
- Prefer OFX, CSV, or XLSX — the structured formats, which import without friction.
- PDF works too for checking-account statements (like Itaú's): the system extracts the transactions from the file. What doesn't work is a screenshot or a scanned PDF — an image doesn't carry the data in a structured way.
If the phone app only offers PDF and the import doesn't recognize the layout, here's a tip: the web internet banking (which also opens on your phone) almost always has an OFX or CSV download option.
Not sure which format each module accepts? There's a table at the end of this guide.
Step 2 — Send it to Google Drive
With the file generated, use Android's Share button and choose Save to Drive (or "Google Drive"). If the app only lets you download, the file lands in Downloads — open the Files app or Drive and move it to the folder you want.
An organization that works well:
My Drive/
└── CaixaUnica Statements/
    ├── Bank - Checking/
    ├── Credit card/
    └── Investments/
That way, every month you add the statement to the right folder and keep a clean history.
Step 3 — Import into CaixaUnica
Open CaixaUnica in your browser (phone or computer) and go to Upload:
- Tap to select a file.
- In the Android picker, choose Google Drive as the source and grab the statement you saved — or, on a PC, download it from Drive and drag it onto the page.
- CaixaUnica detects the format automatically and shows how many transactions will be imported. If it's unsure, just pick the importer from the list.
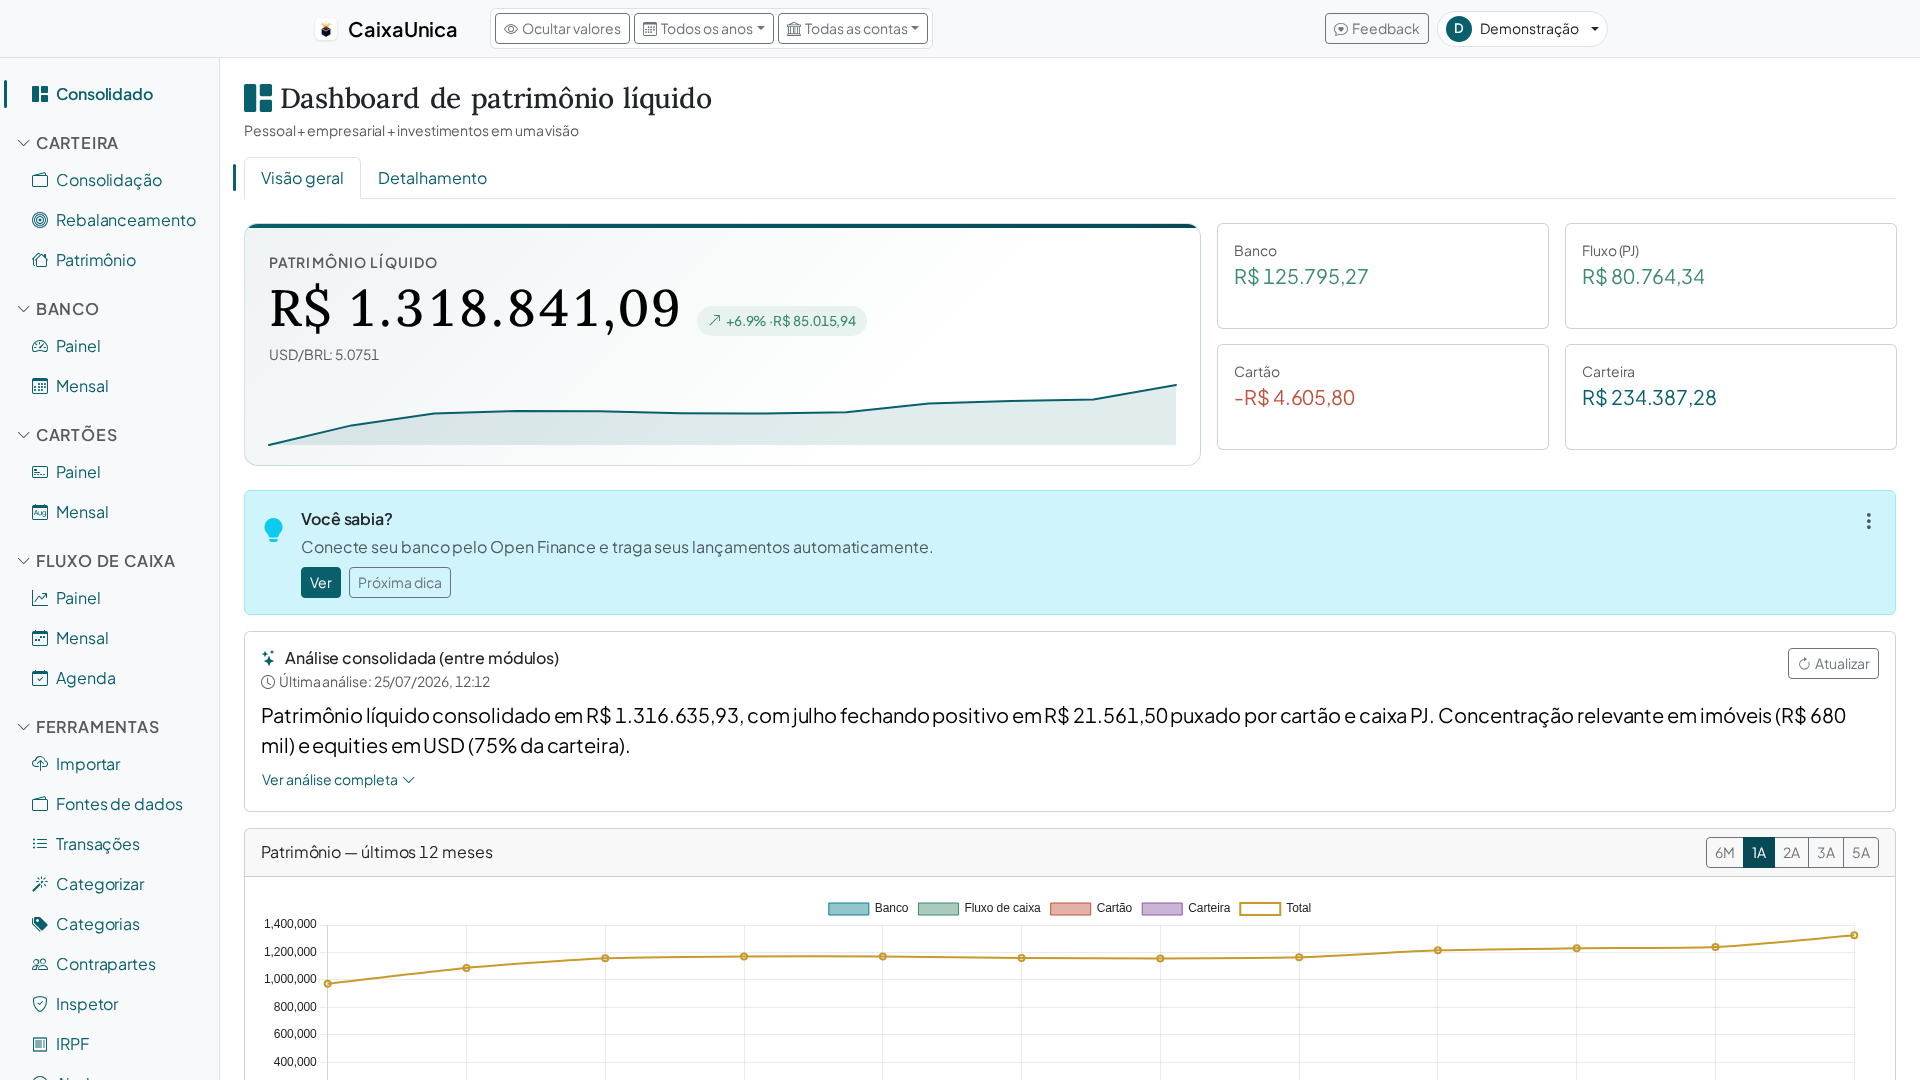
Done: in seconds the data appears across the dashboards, and the categorization rules you already created are re-applied on every new import.
Turn it into a monthly routine
The lightest way to keep everything current is to make it a once-a-month habit: export the month's statements, save them to your Drive folders, and import. Since re-importing is safe, you never have to wonder "did I already upload this one?" — when in doubt, upload again.
Formats that work
| Module | Formats | Where it comes from |
|---|---|---|
| Checking account (personal) | OFX · CSV · PDF | Your bank's app or internet banking |
| Credit card | OFX · CSV | The issuer's app or bill |
| Cash flow (business) | OFX | Your company's bank |
| Portfolio | XLSX · CSV | B3, Avenue, Binance |
With the statement in Drive and the right format, importing into CaixaUnica stops being a computer chore and becomes a few taps on your phone.